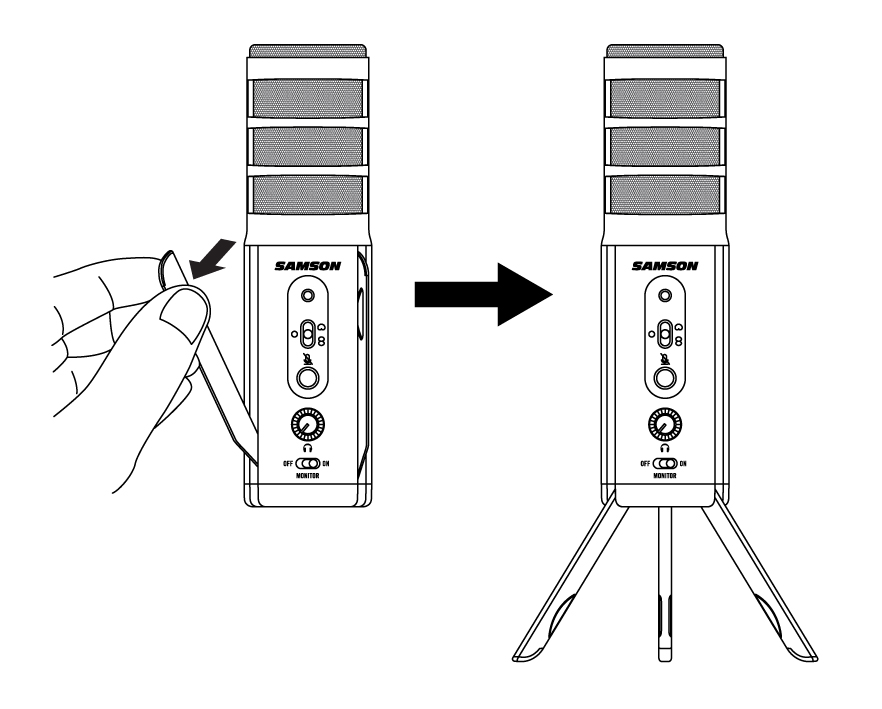
- Unfold the legs of the Satellite, and position the microphone on your desktop. The legs can be adjusted to set the angle of the microphone.
Note: the microphone can also be mounted to a microphone stand via the standard 5/8” threading on the bottom of the mic body.
|
 |
|
 |
|
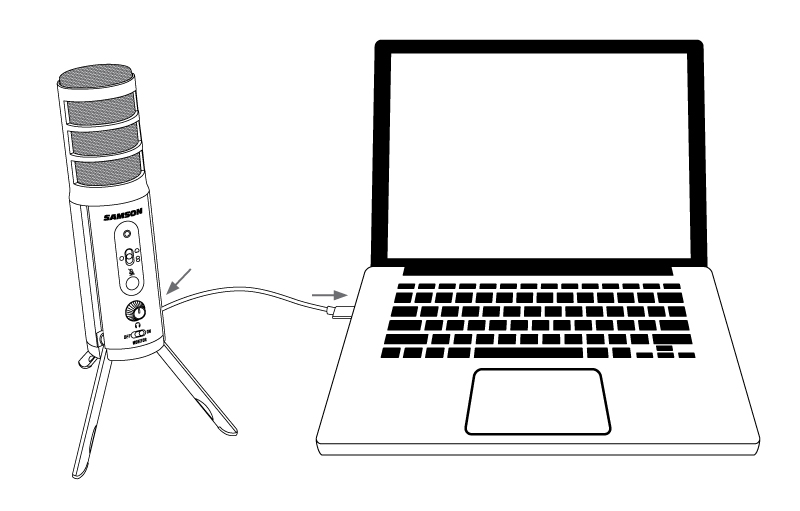 |
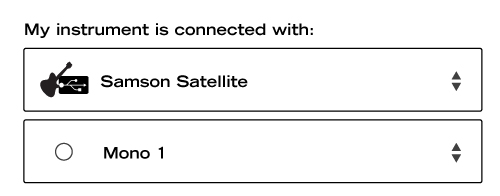
- Set the Satellite as the input and output audio device by following the steps in the section “Using the Satellite with Apple OSX” or “Using the Satellite with Windows”.
- Launch your recording software.
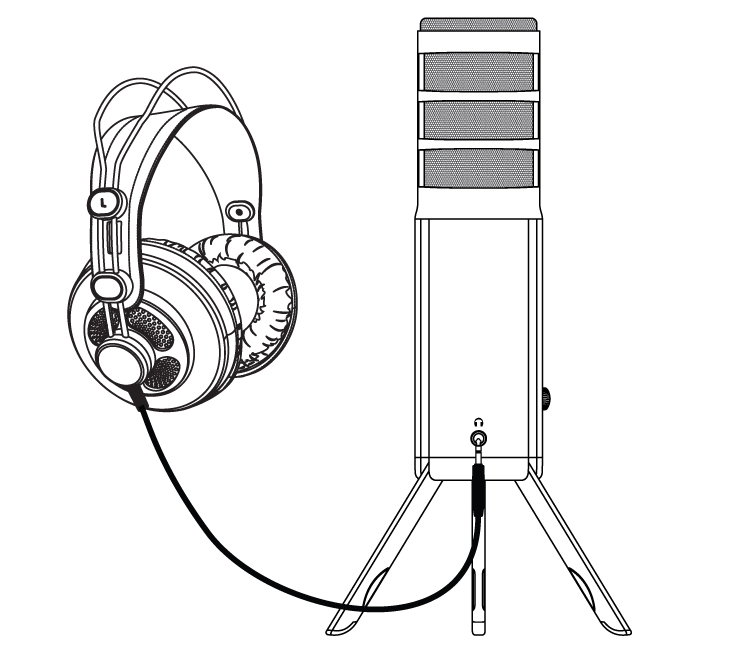
- Turn down the Headphone Volume control on the Satellite and if not already set, select the Satellite as the input and outputs in the software.
|
 |
- Arm the tracks for recording.
|
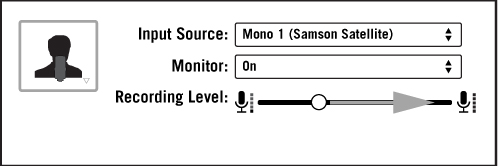 |
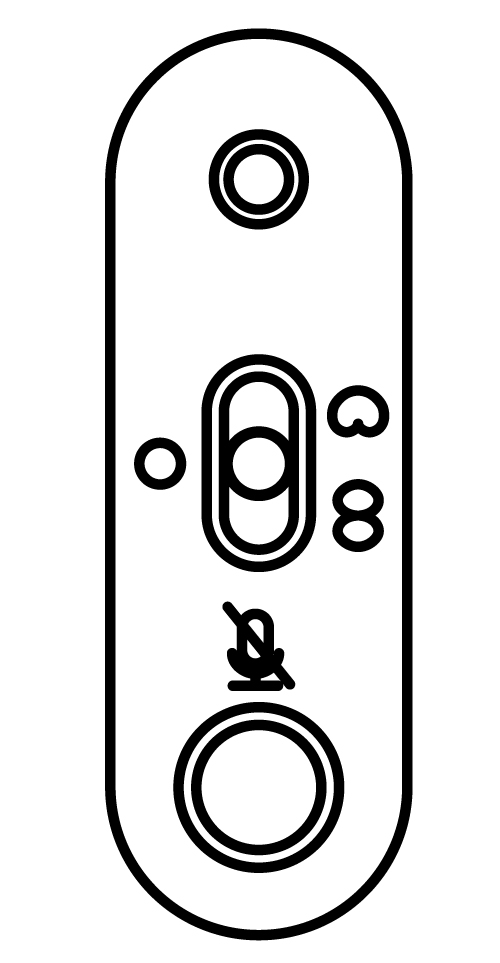
- Set the direct monitor setting.
- Press the record button and start creating.

|
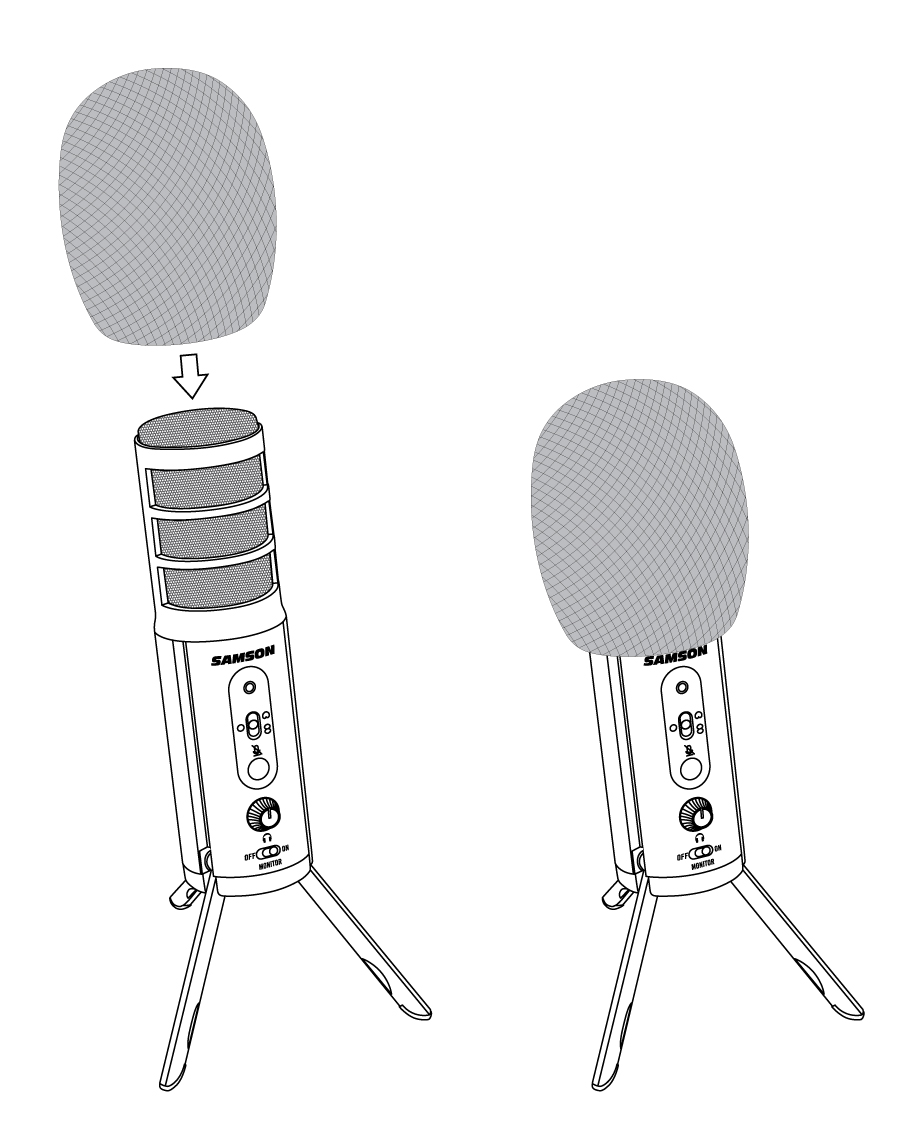
Sometimes when recording vocals certain plosive consonants (like hard “P” and “B” sounds) overload the input of the microphone which causes clipping and adds distortion to your recording. Additionally, wind and breath noise can be distracting and be harmful to your recording. It is advisable to use the included windscreen in order to reduce the effect of the blasts of air on the microphone. |
 |
Comments
0 comments
Please sign in to leave a comment.