Connecting the RS Series Loudspeaker with a Mixer

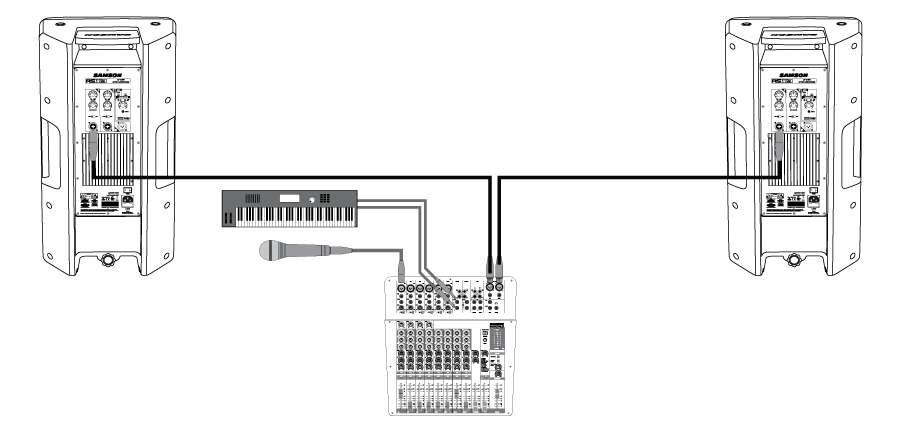
- Turn the RS Loudspeaker and mixer Power switch to the OFF positions.
- Turn the VOLUME control on the rear panel of the RS Loudspeaker down, fully counterclockwise.
- Following the manufacturer’s instruction, connect your audio sources to your mixer.
- Connect either a XLR or 1/4” cable from the output of your mixer to the INPUT 1 jack on the RS Loudspeaker rear panel. Set the LINE/MIC switch to the LINE position.
- Connect the supplied power cable to the IEC socket on the back of the loudspeaker. Plug the power cable into an AC outlet.
Note: Always make sure that the AC outlet is configured with the correct voltage as indicated on the rear panel of the RS Loudspeaker. - Turn on the power to the mixer and RS Loudspeaker(s).
- Run an audio signal from your mixer and check that you are getting a good level using the mixers output meter.
- Slowly raise the RS Loudspeaker’s VOLUME control until you have reached the desired level.
- If the volume from the speakers gets really loud, or you see the Limit indicator blinking frequently, turn down the VOLUME control on the RS Loudspeaker a little until the indicator does not light, or only lights occasionally with signal peaks.
Note: Before plugging in and turning on, remember the “last on, first off” rule of powered audio gear - When powering up your system, be sure that all the wires are connected, first turn on your mixer and any other outboard gear, then turn on your RS Loudspeakers. When powering down, turn off your RS Loudspeakers off first and then your mixer and outboard gear.
Connecting a Wired Microphone

- Set both RS Loudspeaker’s POWER switch to the OFF position.
- Turn the VOLUME control down, fully counterclockwise.
- Connect the power cables for each cabinet to an AC socket.
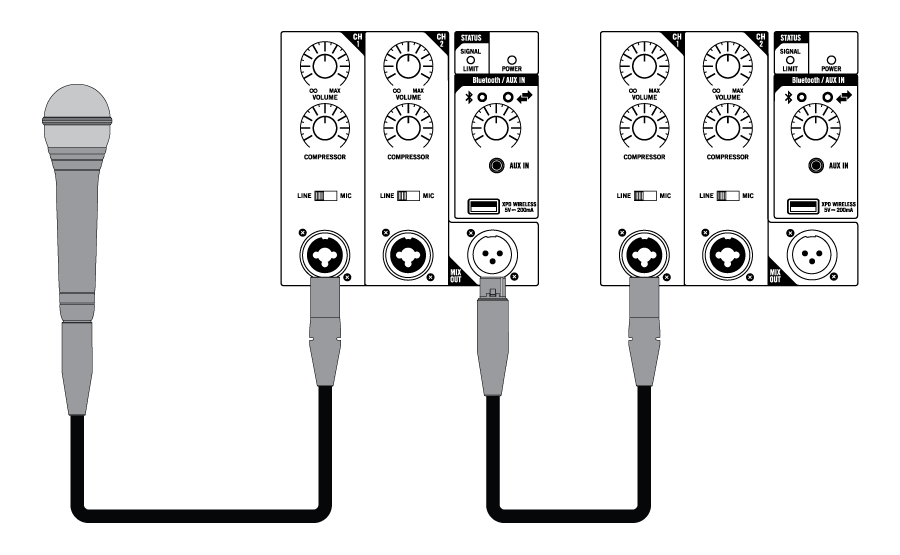
- Connect a standard XLR cable from the main RS Loudspeaker’s MIX OUT to the second RS Loudspeaker’s INPUT 1 XLR input.
- On the second RS Loudspeaker, set the SENSITIVITY switch to the LINE position.
- Using a standard XLR cable, plug a dynamic microphone into the RS Loudspeaker’s XLR INPUT.
- Set the SENSITIVITY switch to the MIC position.
- Switch the Power switch to the ON position.
- While speaking or singing into the microphone, slowly raise the VOLUME control until you have reached the desired level.
- For larger sound reinforcement you can run several monitors using the Mix Output to daisy-chain one RS Loudspeaker to another. Set the input Sensitivity on the additional cabinets to the LINE level position.
Bluetooth® Pairing

- Turn the BLUETOOTH/AUX IN Volume control down counterclockwise to 0.
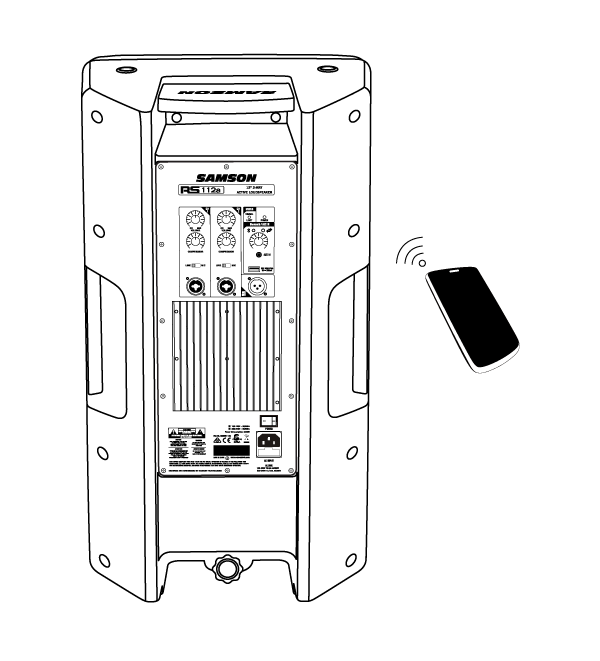
- With the RS Loudspeaker and your Bluetooth device powered on, quickly press and release the Pair button on the rear panel of the RS Loudspeaker to make the speaker discoverable. The Bluetooth indicator will slowly flash blue.
- In the settings of your Bluetooth device, set it to “discover” available devices.
- From the Bluetooth device list, select the “Samson BLUETOOTH” device.
- If your device asks for a passkey, enter digits 0000 (four zeros) and press OK. Some devices may also ask you to accept the connection.
- The RS Loudspeaker speaker indicates that pairing is complete when the indicator turns steady blue. You can now stream audio from your device to the RS Loudspeaker.
- With the volume control on your Bluetooth device turned up, play some music, and slowly raise the RS Loudspeaker BLUETOOTH/AUX IN Volume control until you have reached the desired level.
Connecting XPD USB Wireless Microphone
|
 |
Comments
0 comments
Please sign in to leave a comment.